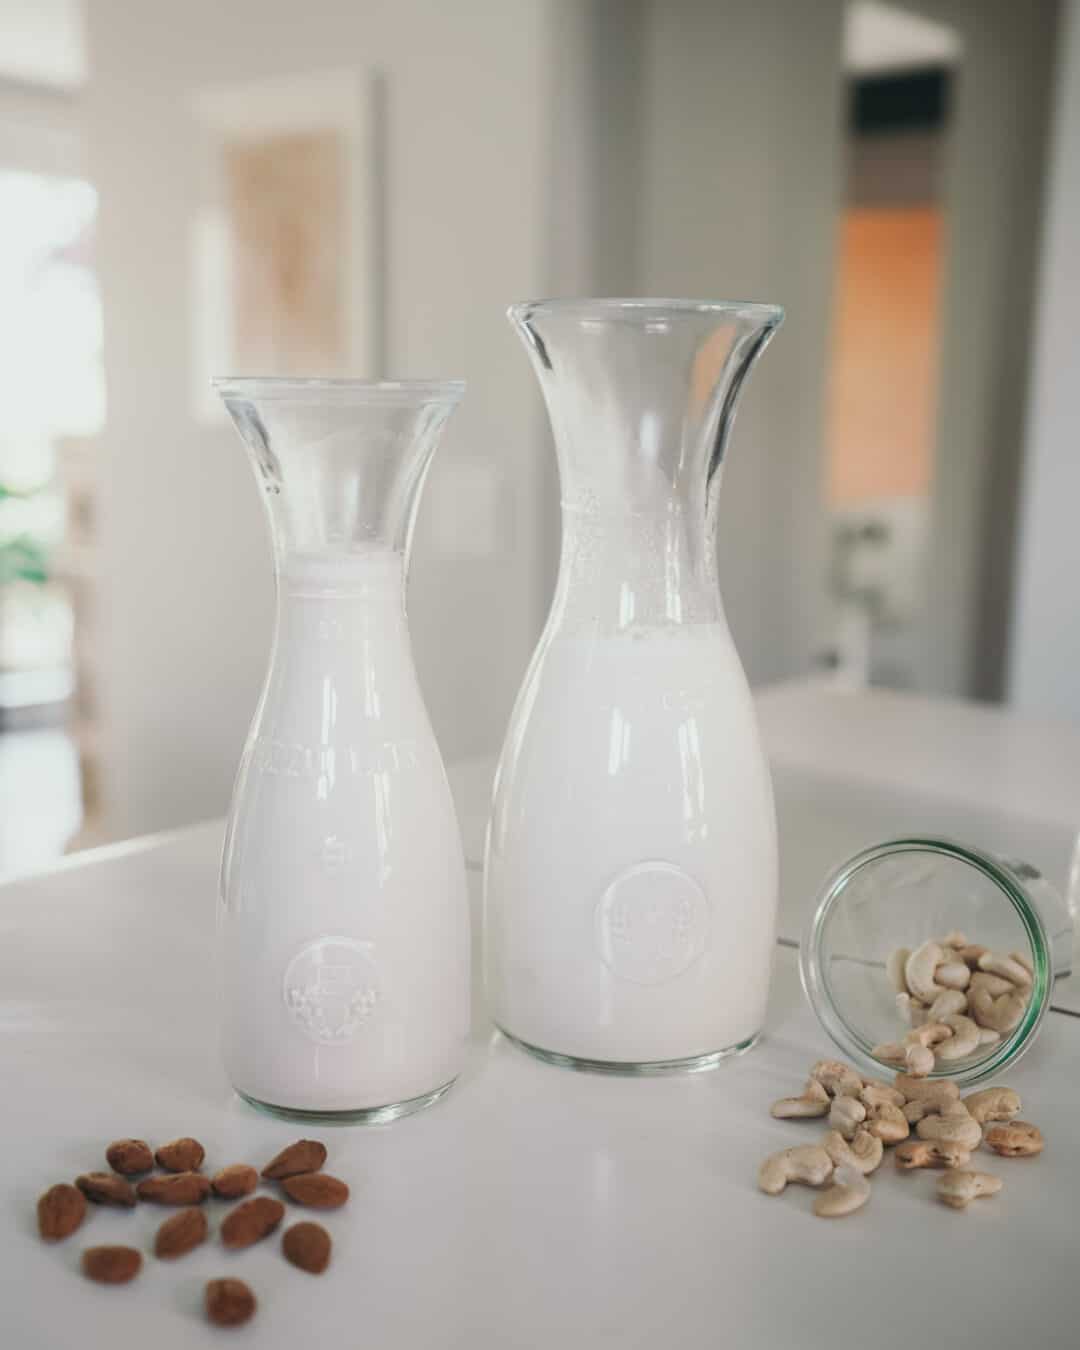
Almond and Cashew milk and other nut and plant milk, got very important to us since we live on a plant-based diet. We use them as a milk replacement in our breakfast, for example, but also to bake and cook other dishes.
We realized that in many places, it is hard to buy nut milk without plastic packaging, so we decided to start making our own milk. And we must admit that we were surprised how easy and fast it is to make our own Almond or Cashew milk. In this blog post, we share with you how we made those two nut milk and our tips.
Why plant-based milk?
There are three main reasons why we decided to switch to a plant-based diet. First of all, to avoid cow milk and other animal products helps the environment a lot and reduces our footprint. The second reason is that animals are often miss treated in mass production of milk and meat. Besides all that, there are health reasons as well. If you would like to know more about why we live on a plant-based diet, we have a dedicated blog post.
Top 3 reasons why you should go plant-based

Why make your own Almond and Cashew Milk?
The reason why we started to make our own nut milk is that there are almost no possibilities to buy them without plastic or tetra packaging, which we don’t want because we try to live as plastic-free as possible. Besides that, the usual kinds of nut milk that we can buy at the supermarket often have sugar inside, which we try to avoid, and sometimes they even have some stabilizers and other chemicals inside. When we make homemade almond and cashew milk, we know 100% what’s inside and what quality of ingredients we used.
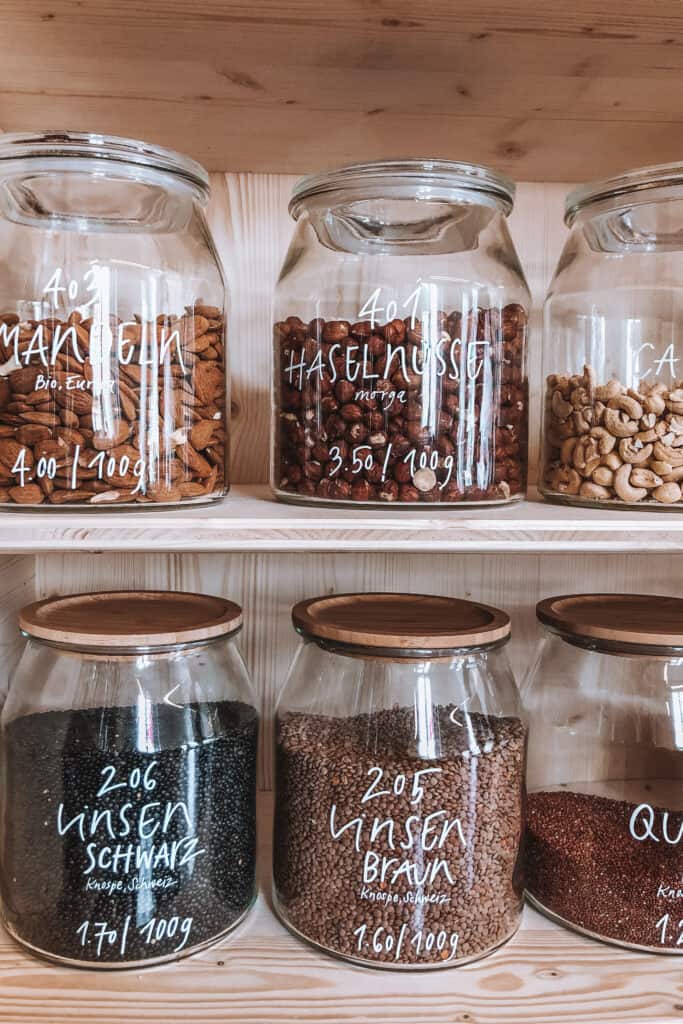
We decided to buy the almonds and cashews that we used to make the milk at a bulk-store so that we could buy them without plastic packaging, of course.
How to make Almond and Cashew Milk?
Step 1 – Soak the nuts in water
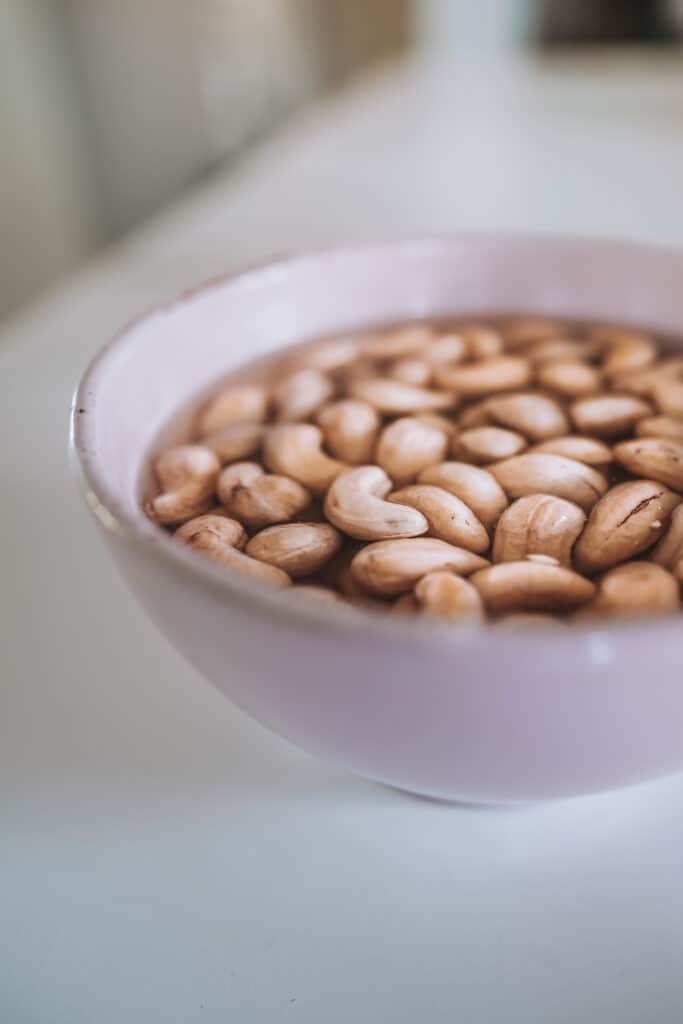
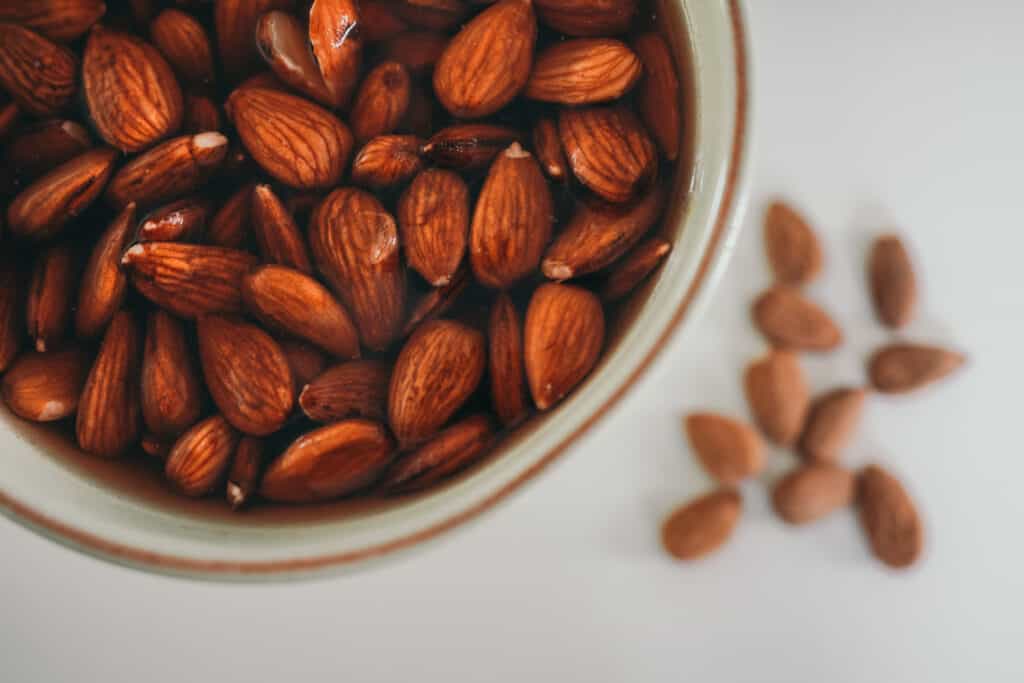
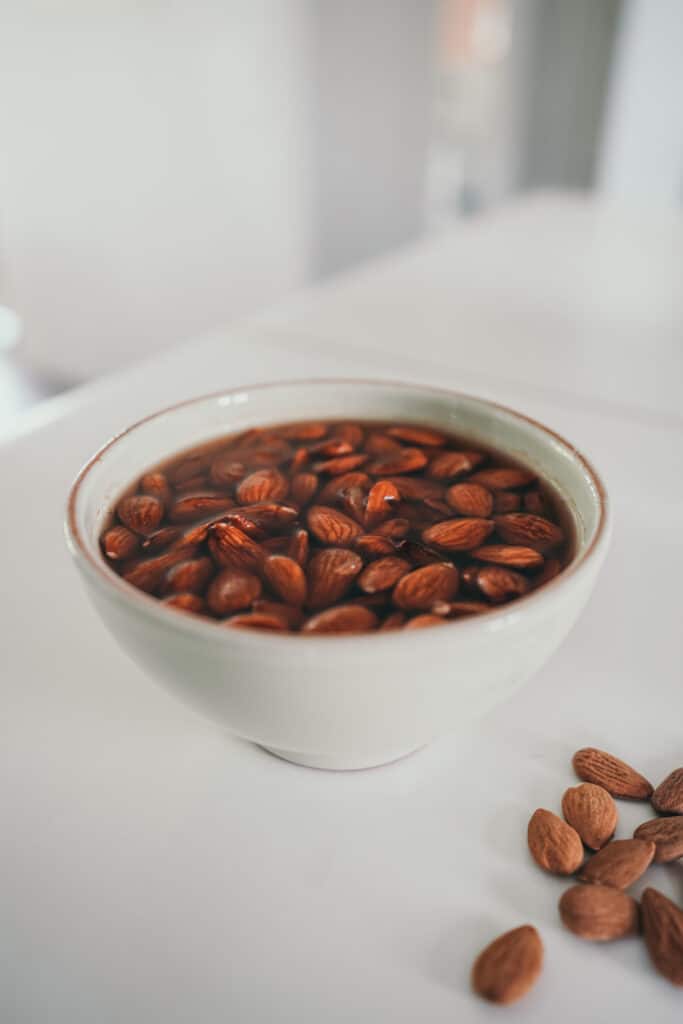
For both nuts, we took one cup and soaked them in a bowl of water for 4 hours. You can also soak them overnight if you have enough time. But for both nuts, it was no problem to make the milk after soaking them for 4 hours.
From this one cup, you get around 1 liter of nut milk. From the cashews, the milk result was a bit more than from the almonds because we pressed them through a nut milk bag.
Step 2 – Rinse and mix the nuts
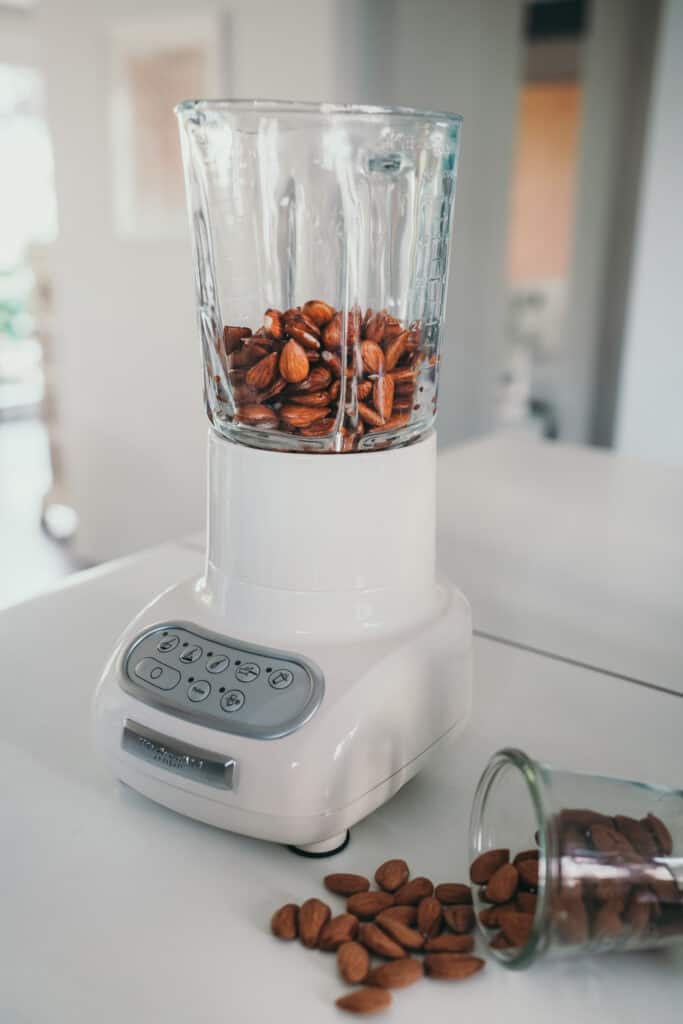
When we started to make the nut milk, we rinsed both cashews and almonds off. We put them into the mixer and added water.
- Almond milk: 1 cup of nuts / 2 cups of water
- Cashew milk: 1 cup of nuts / 3 cups of water
If you like to sweeten your milk, you can add a sweetener like an Agave syrup. It is also possible to add some vanilla if you like the milk to taste like this a bit. We recommend you to add a tiny bit of salt to your nut milk to make it taste more. Don’t worry; the milk won’t smell salty after if you only add a knife tip.


Step 3 – Press it through a nut milk bag
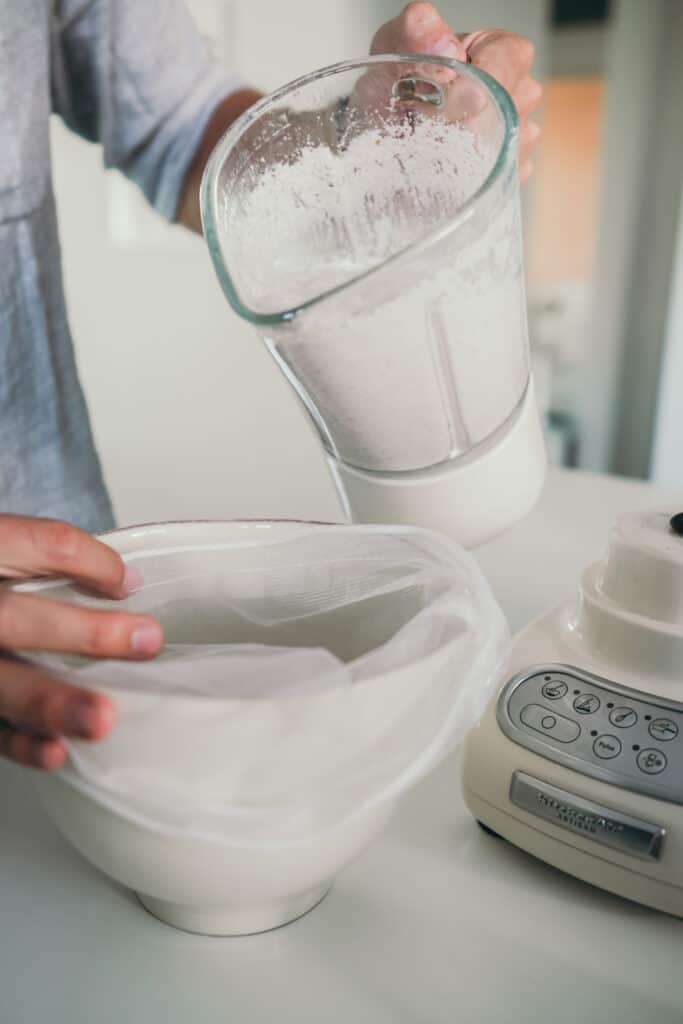
This step is not necessary for cashew milk, but we recommend it if you like to make almond milk. The nut milk bag will filter out the shell and little pieces of the nut, and you will have perfectly smooth almond milk left. If you look for a nut milk bag, you can find one here.
Tip: don’t waste the pieces that are staying in the bag. You can use this to bake or make an almond paste with it. We just added it to our breakfast bowl and liked it because we didn’t have any more outlay with it.
Step 4 – Enjoy!
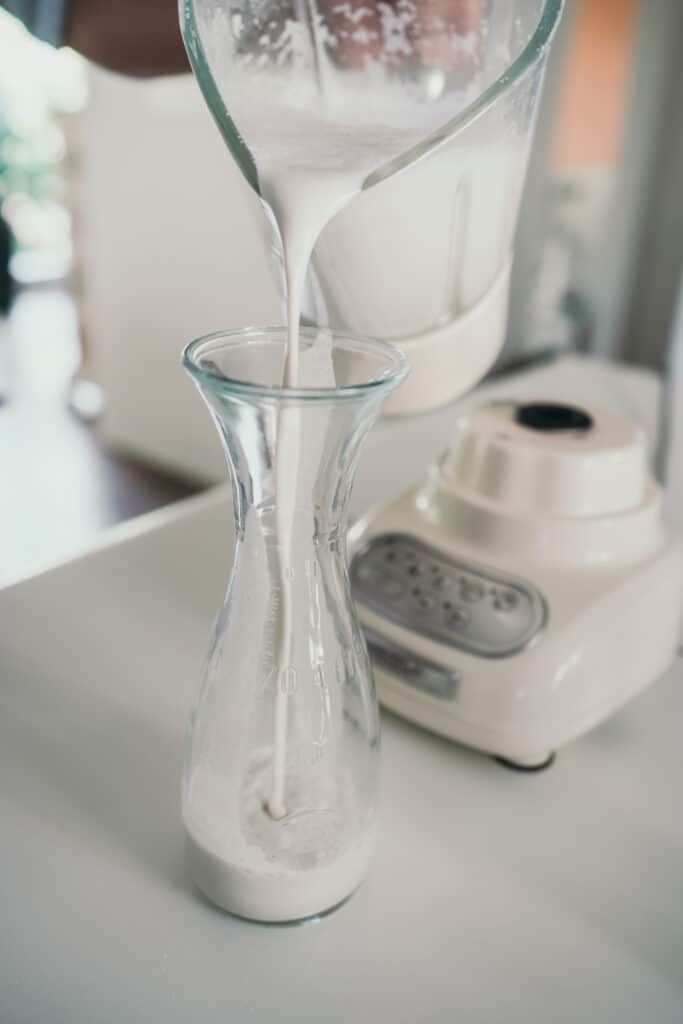
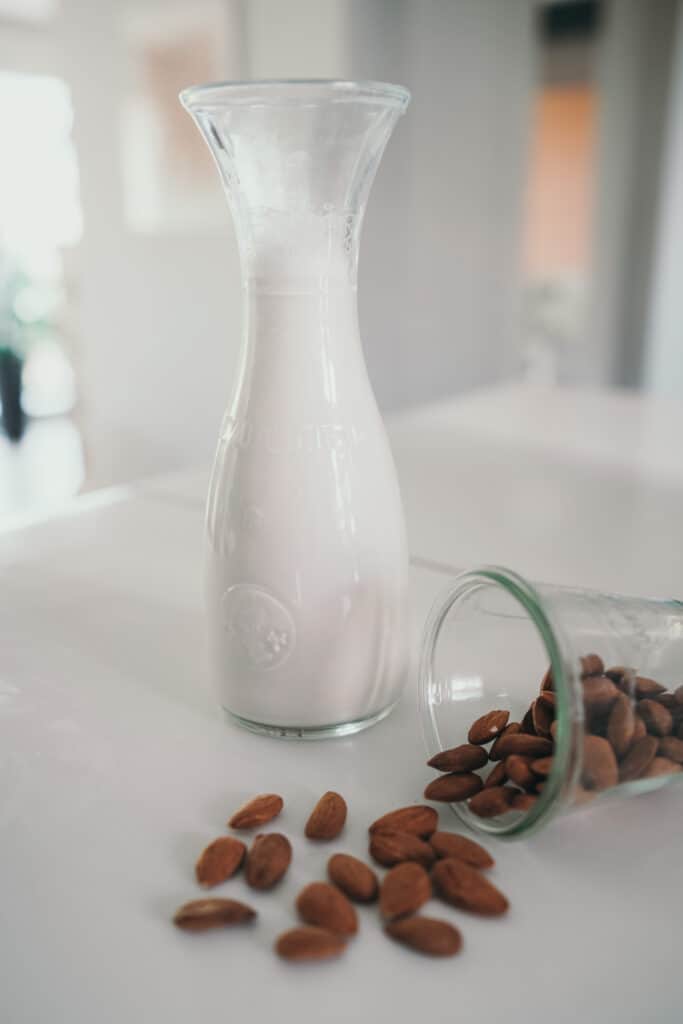
Now your homemade Almond or Cashew milk is finished. That’s how easy it is! Fill it into a glass bottle or jar and store in the fridge. We recommend you to use it within 2-3 days.

Conclusion about making Almond and Cashew Milk
When we made our first homemade almond and cashew milk, we only asked ourselves, “why didn’t we start doing this earlier?”. It is easy to make, and you only need two ingredients. It also doesn’t take you long to do it, especially when you have a good and powerful mixer, which we recommend. Besides, you can spice your nut milk with whatever you like, and it is much healthier than most of the kind of nut milk you can buy and makes zero waste.
